Every printed page carries a test square and a 100 mm ruler
Leather patterns · Made to measure

Patterns for your card holder, watch strap or wallet
Printable leather patterns for card holders, wallets and watch straps, computed to your sizes. Print at home or cut on a laser, then make something that lasts.
Pick your project
The pattern shelf
Each pattern is computed from your measurements: sized to your cards, your watch and your leather.
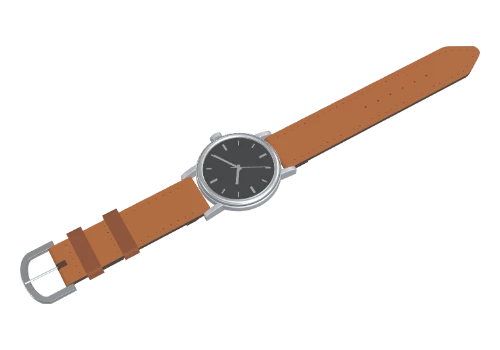
Bifold wallet
Wallet with one to three stacked card slots per panel.
Known issue: test in scrap first
Start: Bifold wallet
From paper to piece
See what you get
Print it, cut it, punch it, stitch it. Watch a flat pattern turn into the real thing.
- Cut
- Punch
- Stitch
- Finish
From pattern to bench
Three steps. One evening.
- Choose a style
- Enter your sizes
- Print and cut
01 · Choose a style
Clear drawings of every style. The classic one is always first.
- Classic
- Wave
- Vertical
- Snap flap
02 · Enter your sizes
Every field starts filled in. Change only what you need, in mm or inches.
- Card width
- 85.6 mm
- Card height
- 54 mm
03 · Print and cut
A true-scale PDF for your printer, or SVG and DXF for your laser.
From our Pinterest boards
Ideas for your next build
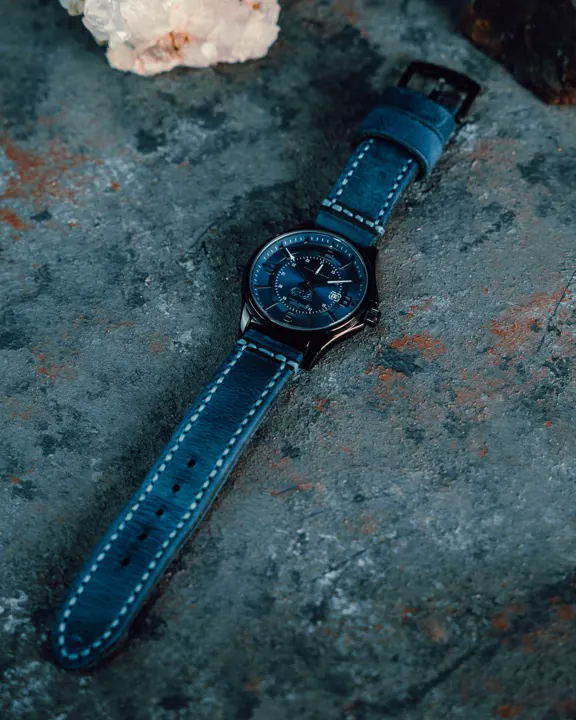
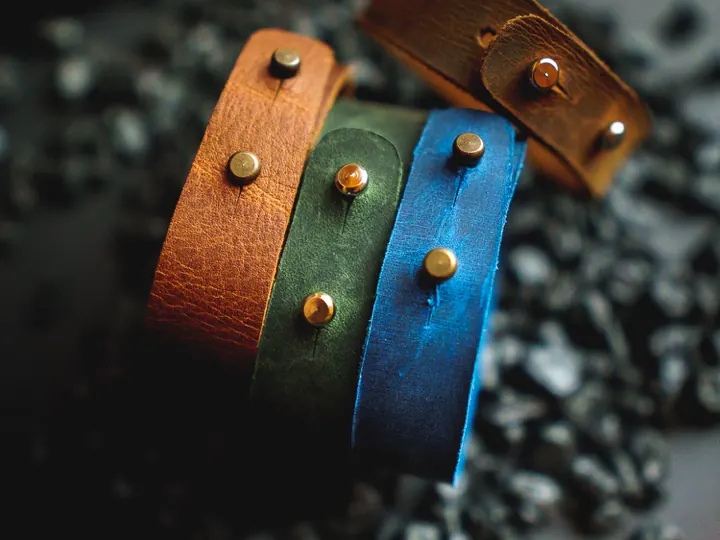
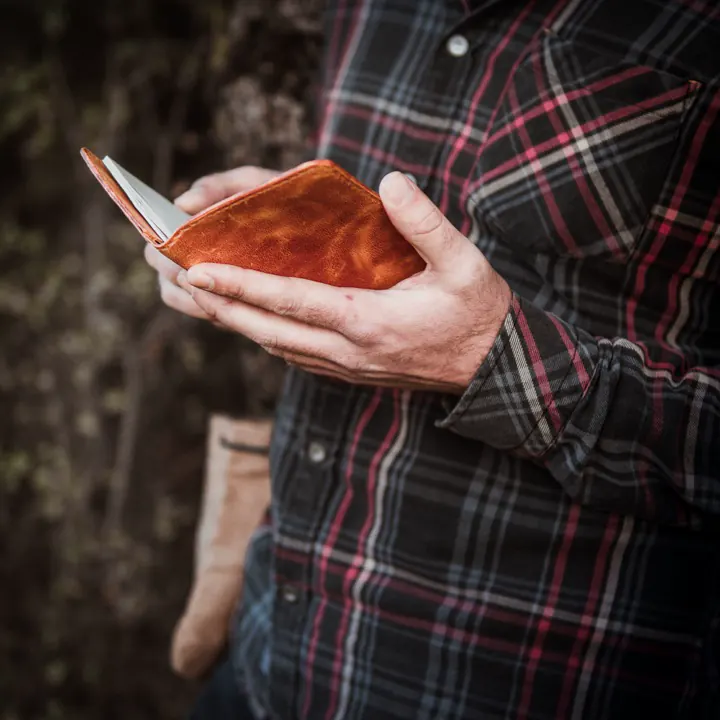
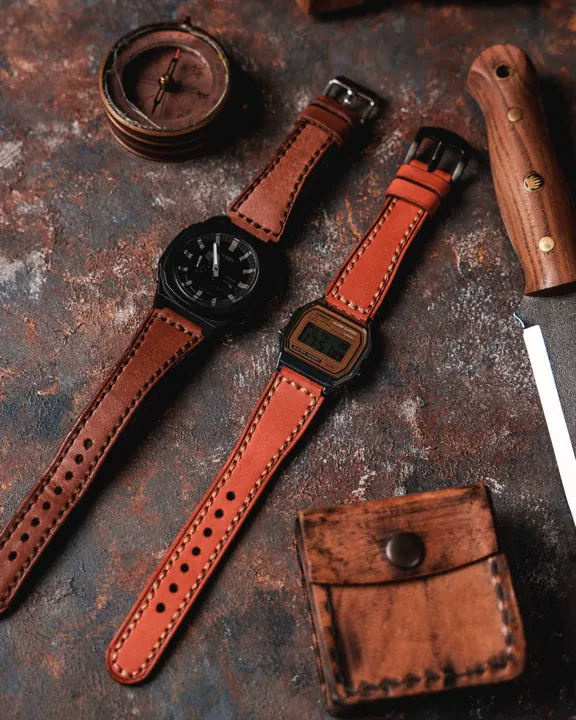
From our bench
Share your build
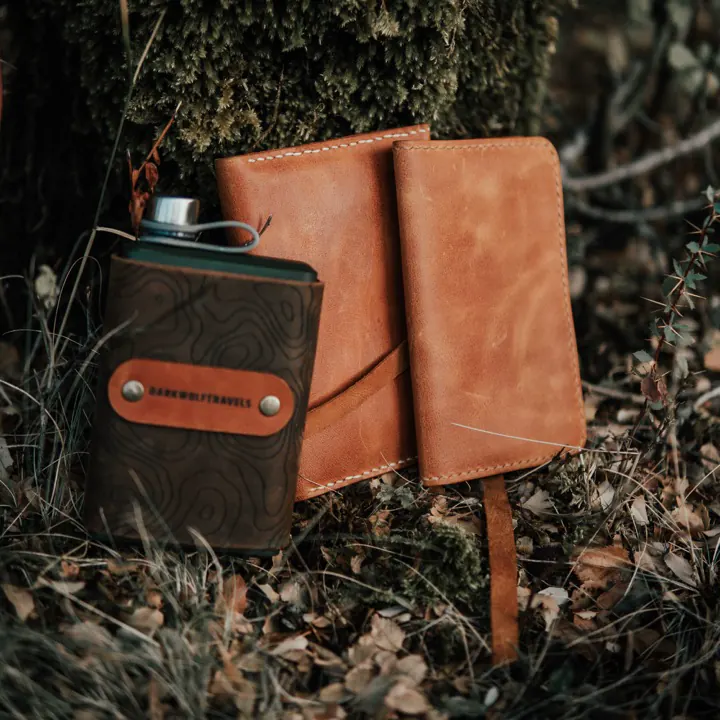
Made something from one of our patterns? Tag it #YourHandsYourStory on Instagram.
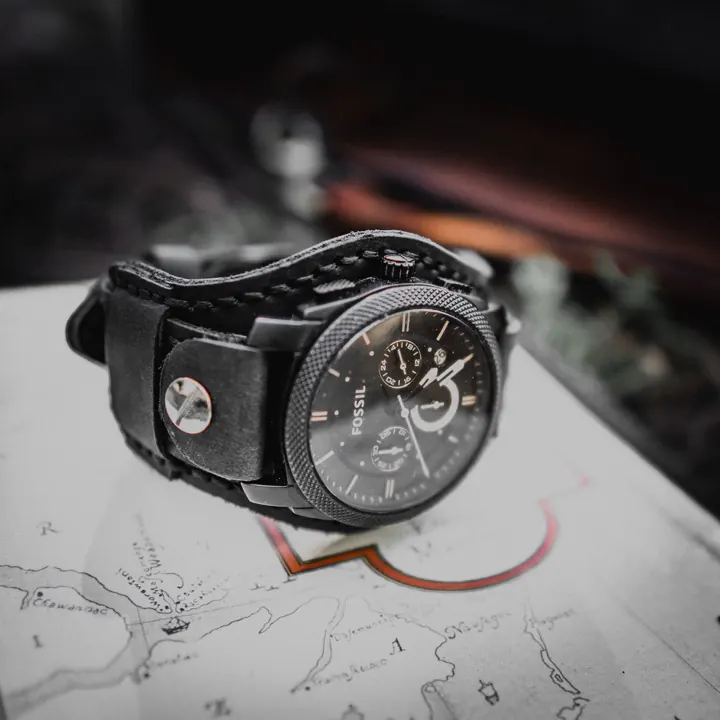
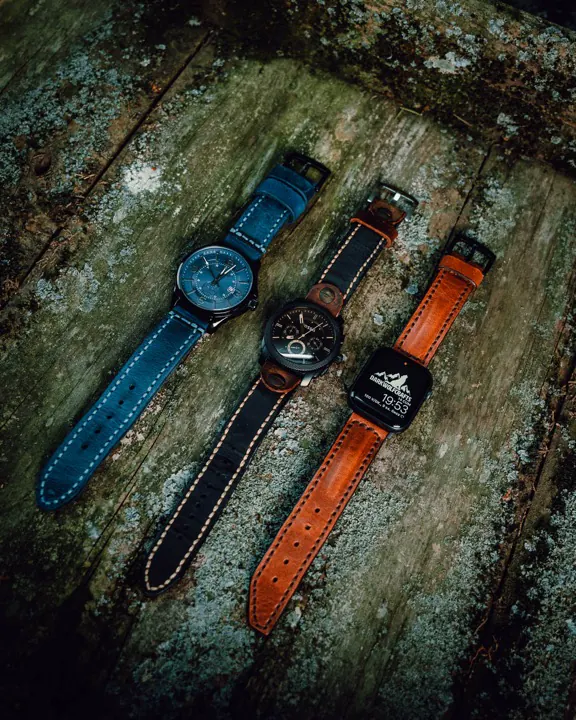
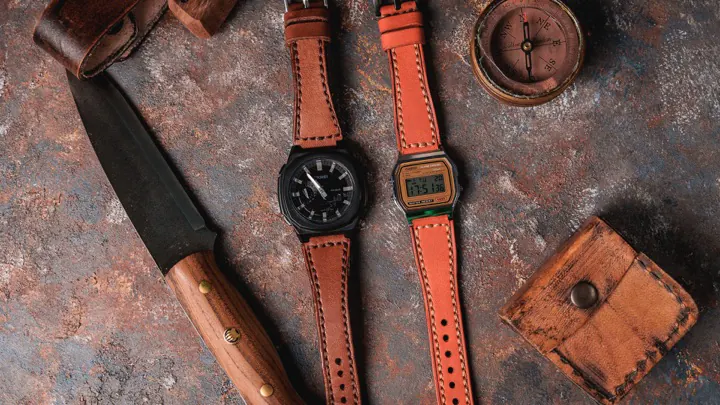
watch strap 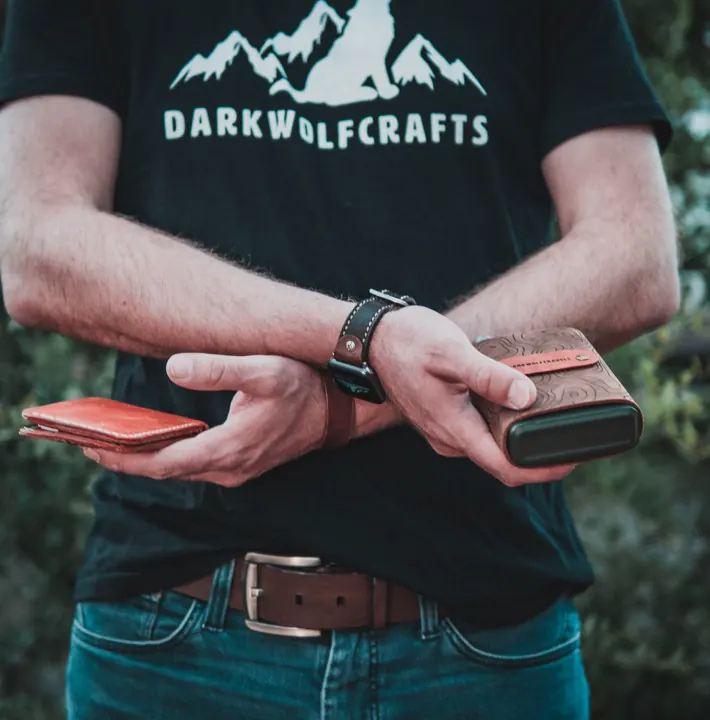
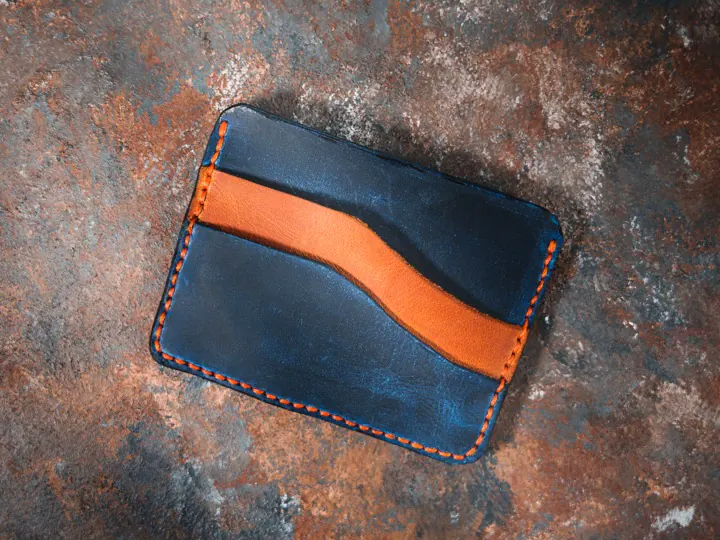
card holder 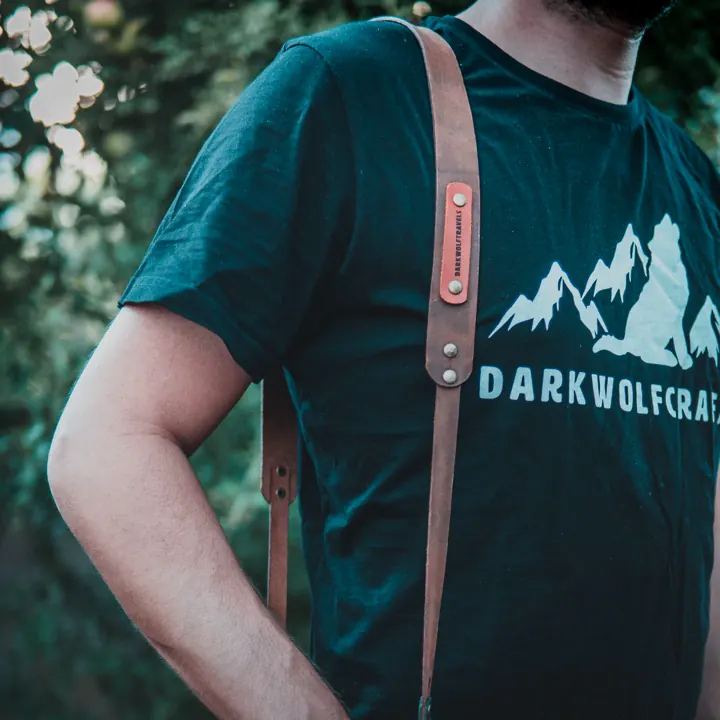
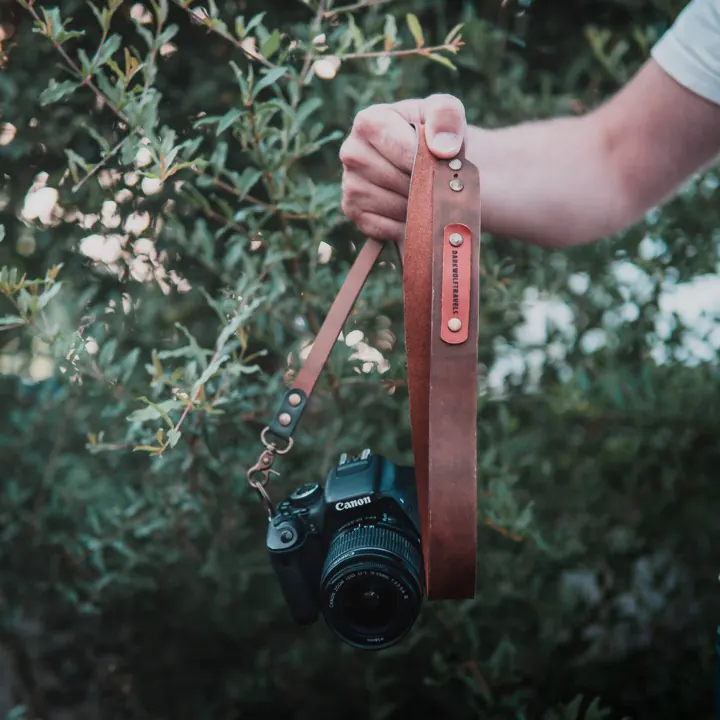
camera strap 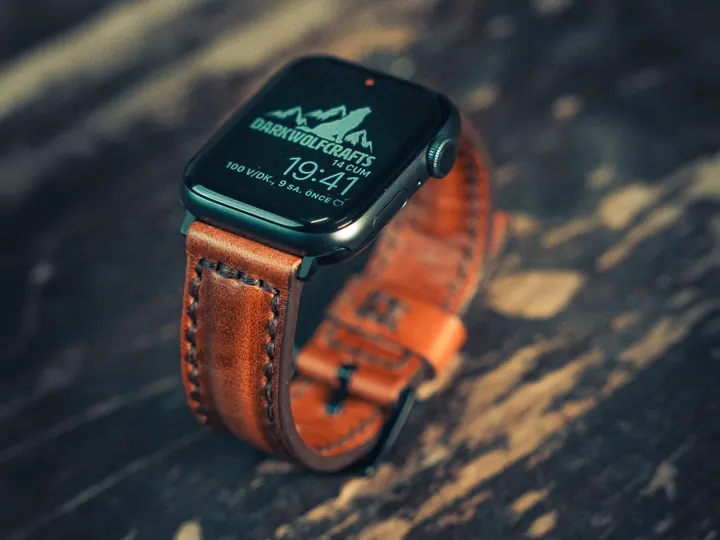
tan strap 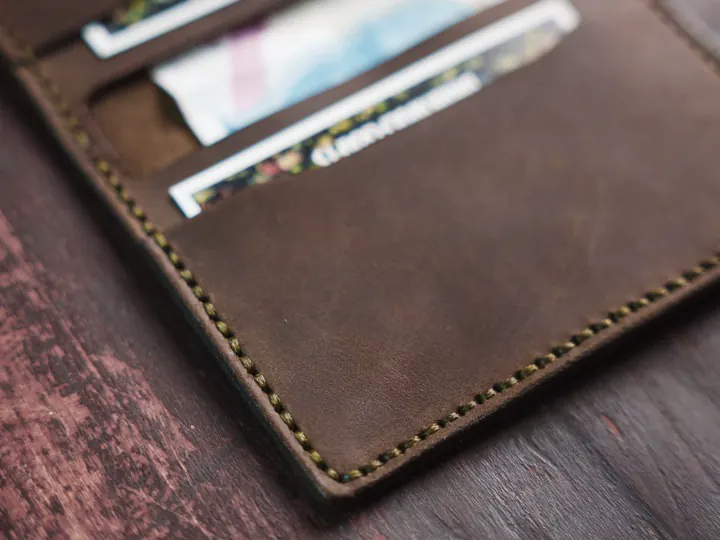
wallet 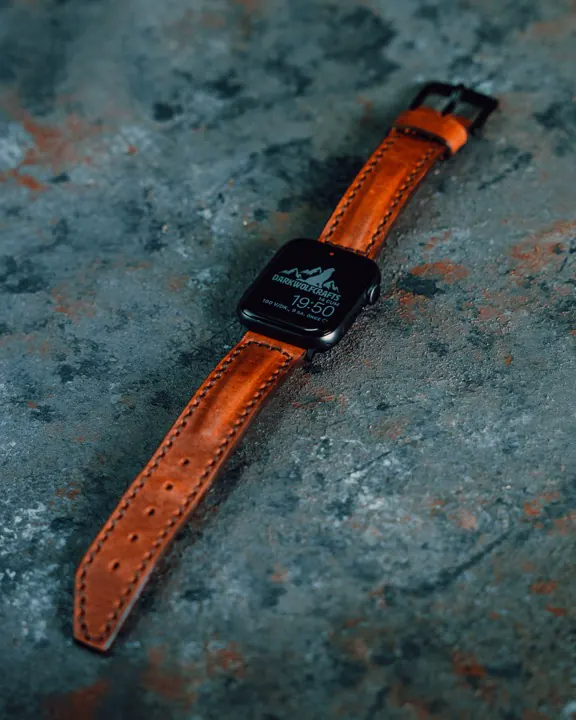
everyday strap
Bench sessions
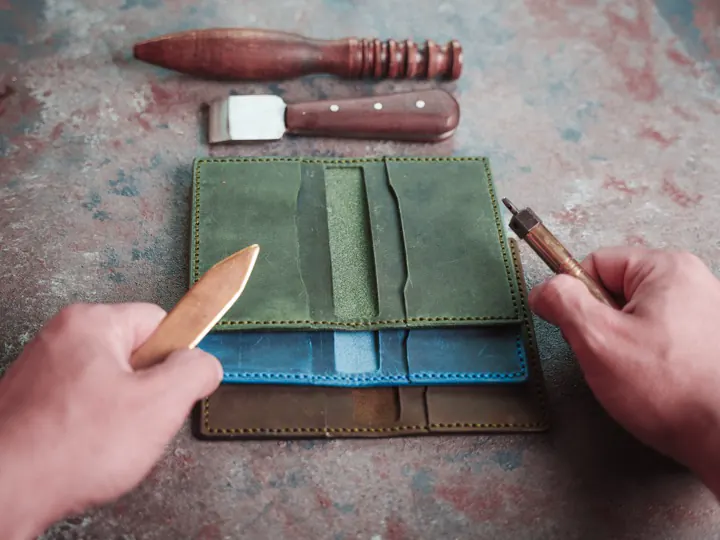
Watch it come together
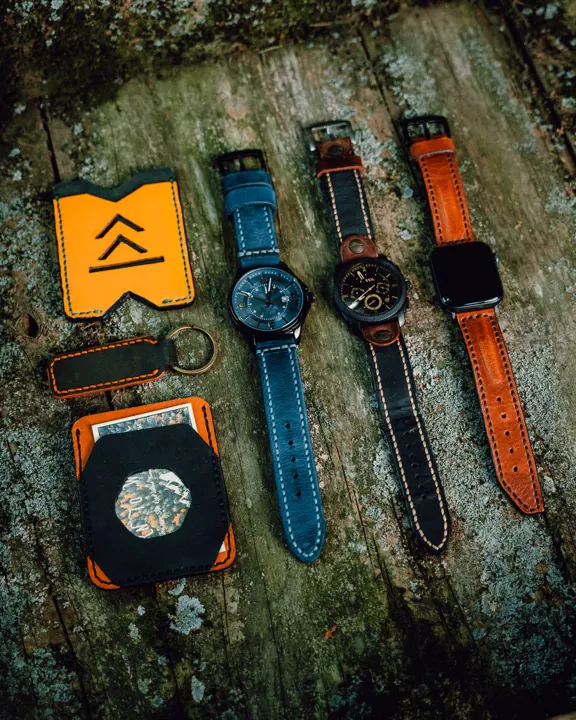
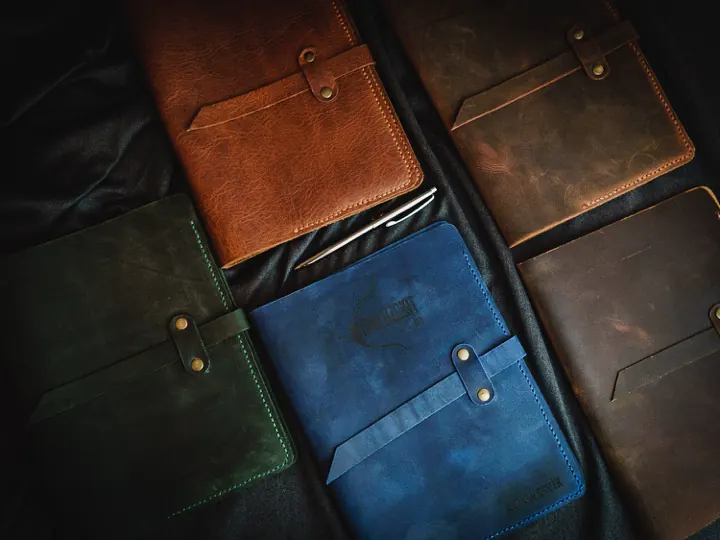
Field notes
Made for the bench
Computed, not drawn
The same sizes always give the same pattern, line for line.
Prints at true scale
A test square and a 100 mm ruler on every printed page.
Hand tools or laser
PDF for the printer. SVG and DXF for the machine.
Inches or millimetres
Letter paper in the US and Canada, A4 everywhere else. Switch any time.
Every piece labelled
Names and counts on each piece, so nothing gets mixed up at the bench.
Before you cut
Questions from the bench
Lug widths from 9 to 30 mm and buckle widths from 8 to 30 mm, in whole millimeters. Finished long strap 90–160 mm and short strap 55–105 mm. Size examples set both lengths for you; check them against your wrist.
Yes, after a cleanup. The SVG and DXF are true-scale vector files for your laser or cutting-machine software, but today they are the print sheet. Keep only the piece outlines and the holes you want the machine to cut. In the SVG these are the solid black lines and circles. Some sheet marks are solid black too: the test squares marked CALIBRATION (50 mm, and 2 in on some sheets) and the line under the title. Delete them. Delete the dashed lines (fold lines and crop marks) or set them not to cut, and delete the labels, the gray page frame and any known-issue box. In the DXF, keep the CUT layer (and STITCH for the stitch holes) and delete the FOLD, GUIDE and LABEL layers. For the watch strap, also delete the line legend and every piece marked PAPER ONLY or NOT FOR CUTTING (the mirrored flesh-side mark templates and the assembly sections; in the DXF they are on the CUT and STITCH layers too). If you punch the turnback holes after assembly, leave them uncut and punch them through both layers after gluing; otherwise cut them in every layer and pin through the P holes when you glue. For hand cutting, print the PDF at 100 % scale on A4 or US Letter.
Every document is drafted in millimeters and exported at exact size — plus each sheet includes a 50 mm test square so you can check your printer before cutting any leather.
Print the PDF at 100% scale and cut every piece on the sheet (straps, keepers and, for a lined strap, the wrist-side linings), or cut them on a laser. Before cutting your good leather, mock up the folded ends in scrap leather of the same thickness, around your real buckle and spring bar. Then skive and fold the spring-bar tails and glue the layers. Unless you punch after assembly, pre-punch every layer and pin through the P holes when you glue; if you punch after assembly, punch the turnback holes through both layers after gluing. Then saddle-stitch through the pre-marked holes and finish the edges.
Guides for makers
All guidesHow to make a leather watch strap: the pattern, piece by piece
How to make a leather watch strap from the lug width: 22 mm strap, 20 mm buckle, long side cut 132.6 mm, folds 5.9 mm and 4.3 mm. Pieces and build order.
How to make a leather card holder: pockets sized to the card
How to make a leather card holder sized to the card: 105 mm wide layers for an 85.6 mm card, 4 mm to the stitch line, 6 styles, build order.
Leather thickness: oz to mm chart, and which thickness each pattern uses
Leather weight to thickness: 1 oz = 0.40 mm, 3 oz = 1.19 mm, 5 oz = 1.98 mm. Chart to 12 oz, how to measure, and which thickness each of our patterns uses.